A loose hem can often be repaired locally without changing the garment's length. The important detail is not simply fastening the fold: it is joining the layers with a stitch path that leaves the cloth free to hang. Tight thread can turn an otherwise neat repair into a puckered edge.
This guide describes a small hand-sewn catch-stitch repair on sound, non-stretch woven clothing with an ordinary folded hem. It is not a method for every hem. Bonded finishes, technical fabrics, stretch garments and fragile textiles require a compatible alternative rather than automatic substitution.
First check whether this is a stitching failure
Turn the garment inside out and inspect the opening. Look for broken sewing thread with intact cloth, then compare a sound neighboring section. If the material is torn, worn thin or frayed back to the attachment line, decide how it can be supported before sewing.
Confirm the original length and fold depth from intact sections. Photograph the arrangement, including any lining, slit or vent that must remain free. Rest the garment naturally; do not stretch a curved edge to make it meet an artificially straight line.
Bring the loose fold back into position gently and check the outside. A local repair should not accidentally create a tuck or shorten one section. If the entire hem needs leveling, treat that as an alteration with its own fitting work.
Prepare a visible practice sample
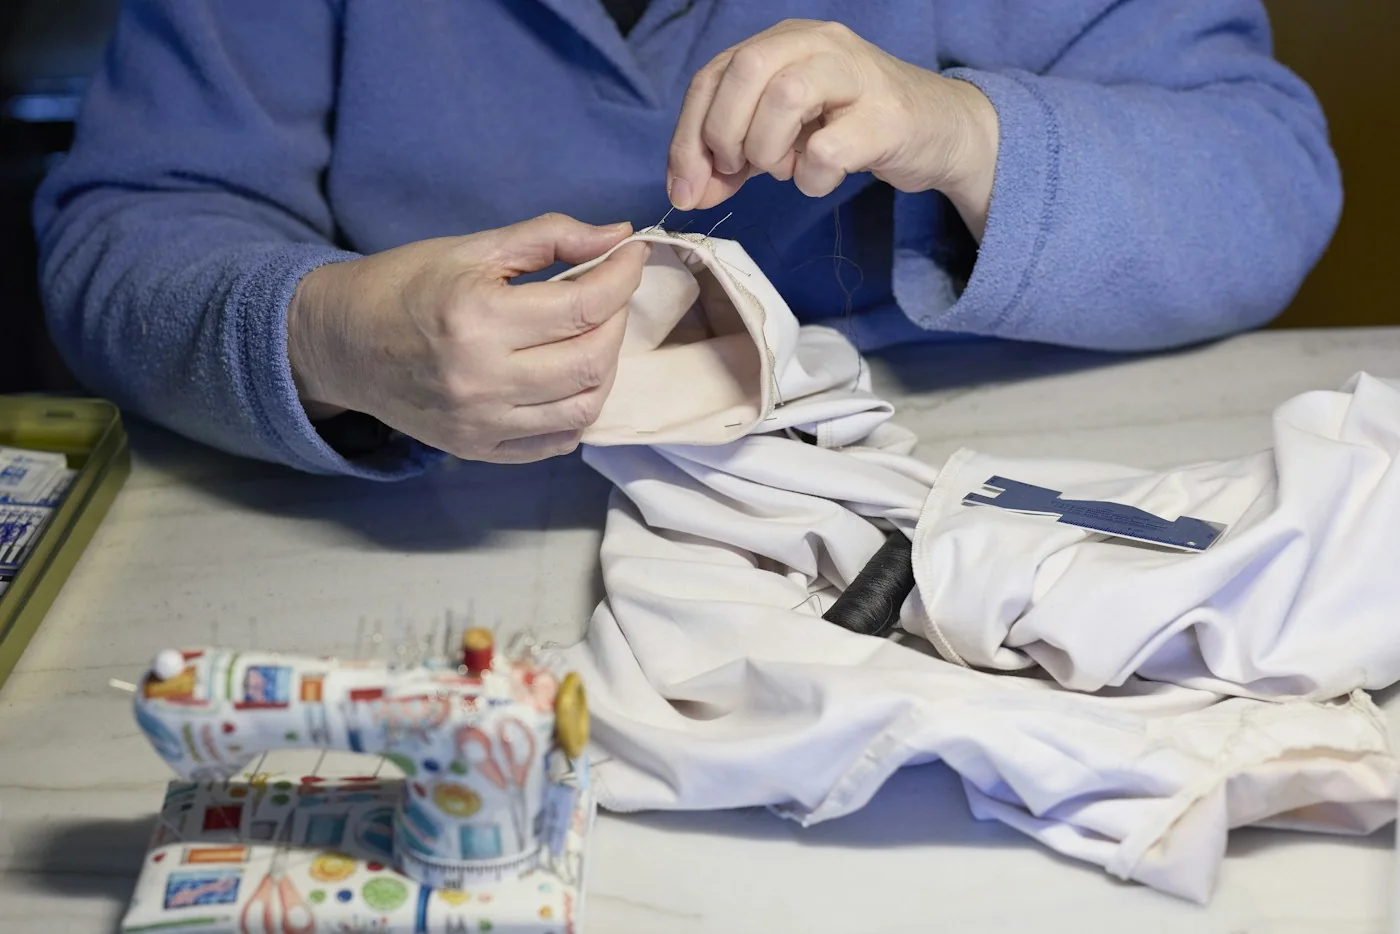
Use comparable woven scraps to practice the path before touching the garment. Fold one edge up as a hem, then place it wrong side facing you. Choose a suitable hand needle and thread, with enough working length to finish without repeated tangles.
A catch stitch crosses diagonally between small bites in the garment body and the turned-up hem allowance. The Sewing and Craft Alliance lists it for heavier or bulkier hems. Choose another suitable hem method if the fabric or desired finish makes those crossings inappropriate.
Hold the fold with a few temporary pins or another compatible method. Keep the work supported and relaxed. Account for every pin, and remove one before it obstructs the needle. A temporary arrangement should not compress extra cloth into a lump.
Establish the starting point
Begin in sound attachment before the loose section, rather than exactly at the gap. Woolmark's dropped-hem example starts beyond the damaged area; the useful principle is to connect the new work to stable material on both sides.
Anchor the thread with a compact, secure finish appropriate to the fabric. For the following right-handed example, work progressively toward the right. Mirror the arrangement if that makes the movement more comfortable, while preserving which layer each small bite catches.
Bring the thread out through the hem allowance near its upper edge. Keep the anchor within the folded material where possible. Check that it has not captured a pocket, lining or another layer that should move independently.
Make the alternating catch-stitch path
Above and slightly to the right of the starting point, take a very small horizontal bite in the garment body. Point the needle back toward the left while the overall work advances rightward. Catch only a small amount of cloth, avoiding a conspicuous stitch through to the face.
Next move down and farther right to the hem allowance. Again take a short bite from right to left, this time in the folded allowance rather than through every garment layer. Draw the thread through gently; the connecting strand now travels diagonally between the two levels.
Repeat those alternating upper and lower bites. The diagonal connections cross as the sequence advances. Practice slowly enough to identify each entry point and inspect the reverse. Consistency matters more than imposing one stitch spacing on every weave, hem depth and thread.
Leave ease instead of pulling a straight cord
After a short section, lay the sample flat. Let the thread settle without drawing the two levels closer together. Woolmark's hem guidance specifically warns that excessive tension can break thread or pucker fabric. The folded edge should remain where you placed it.
Turn the sample over. Check for visible dots, a ridge, or an area pulled upward. On the actual garment, pause similarly after a few stitches. If the thread has gathered the cloth, undo that short section and correct it before continuing.
Do not expect pressing to remove a problem built into the sewing tension. Nor should the connection hang in long loose loops that catch during wear. Aim for a secure, relaxed attachment that bends with the surrounding cloth.
Finish into sound work and check the hang
Continue past the formerly loose section into stable attachment, then secure the thread with a compact finish. Trim only after checking that the end holds. Remove every temporary pin and examine both faces for trapped layers or accidental tucks.
Let the garment hang or rest as it would during use, and move it gently through its normal range. Check the repaired section against the original hemline. If pressing is appropriate, follow the actual care label and equipment instructions rather than increasing heat to conceal bad stitching.
Recheck after ordinary wear and the next permitted cleaning. If the hem catches again, investigate garment length, footwear contact or another recurring load. The successful repair preserves the intended length and natural hang, with a stitch path you understand and tension the cloth can accommodate.