Choose a hand needle by reading two things on its packet: the needle family and the size within that family. A number without a type is incomplete information. A needle for ordinary woven clothing, one for jersey and one carrying darning yarn do different jobs.
For a small repair, start with the layers you will actually pierce and the thread you intend to use. The aim is a needle that travels cleanly without enlarging holes, damaging yarns or requiring force. Here is a way to turn that aim into a choice at the sewing box.
Name the repair before selecting a packet
Describe the job in one sentence: reattach a shirt button, secure a loose woven hem, or darn an opening in a knitted sock. Inspect the surrounding material first. Torn or thinned cloth needs a repair plan; a different point cannot restore missing fabric.
Distinguish hand needles from machine needles. A chart mentioning a machine system or NM sizing is not automatically a chart for your hand-sewing packet. Keep the manufacturer's identification with the needles instead of pouring several types into an unmarked container.
Also identify the working thread. One strand, doubled sewing thread and wool yarn need different eye capacity. Decide that arrangement before choosing a larger tool simply because its eye looks easier to see.
Three useful families to recognize
Sharps are ordinary pointed hand needles used for general sewing. They are a sensible family to consider for a straightforward repair on sound woven clothing. The Sewing and Craft Alliance's hand-needle guide distinguishes them from specialized needles rather than treating sharpness as the only choice.
Ball-point hand needles have rounded points intended for knitted structures. Prym lists ball-point hand needles specifically for jersey. The purpose is to work appropriately between yarns; a rounded point is not a guarantee that every fine, coated or damaged knit can be pierced safely.
Darners are intended for mending with a suitable thread or yarn and have an eye and form suited to that work. Read whether the packet concerns cotton darning thread or thicker yarn. Do not assume a large-eyed needle designed for another craft is the correct substitute.
Read size within the named family
In the ordinary hand-needle sizing illustrated by the Sewing and Craft Alliance, a smaller number indicates a larger needle: its example contrasts a substantial size 1 with a finer size 12. This is not a conversion rule for every specialized needle or machine system.
Suppose you have two packets of sharps from the same range. Compare the available sizes against the thread and fabric, rather than choosing the thickest because it looks durable. An assortment lets you examine alternatives without committing the garment to the first needle you find.
Avoid memorizing one number as the shirt needle. Fine shirting, a reinforced button area and several folded layers can differ. The manufacturer's type description and a practice sample are more useful than assigning every item with the same garment name an identical size.
Example: reattaching a shirt button
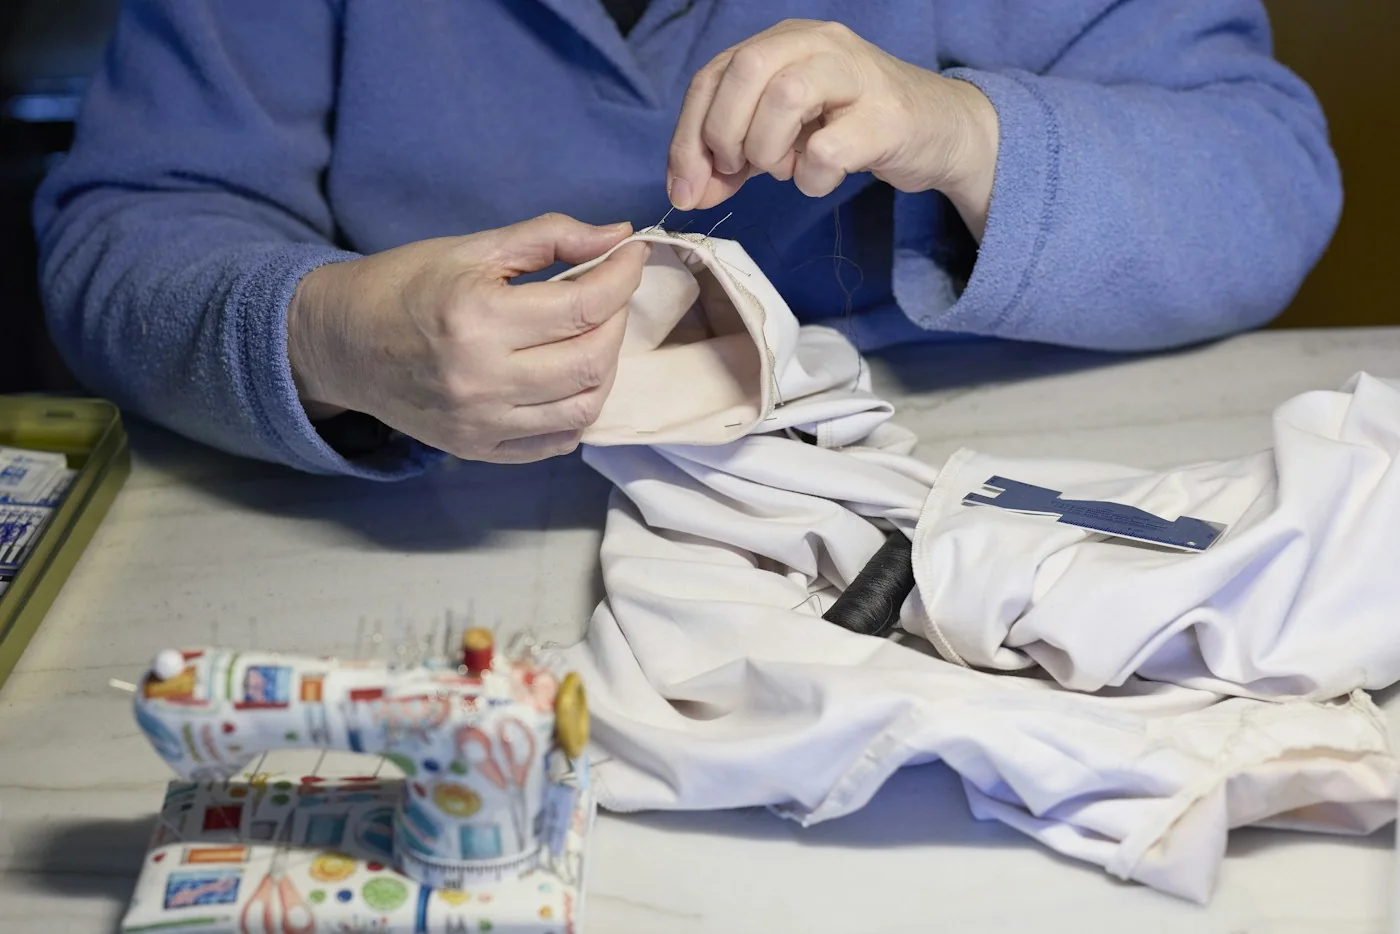
For a sound ordinary woven shirt, start by considering a sharp with an eye that takes the intended sewing thread comfortably. A general-purpose hand-sewing thread is a different input from heavy decorative cord. Confirm that the needle also passes through the button holes.
Try the arrangement on comparable spare cloth if available. Check that the thread draws through without repeated fraying and that the resulting holes are not conspicuously enlarged. Inspect the face and reverse rather than judging success only by how easily the needle enters.
If doubled thread will not pass comfortably, reconsider the whole combination. A still larger needle may solve threading while creating an unsuitable hole. Change the thread, needle or method together as needed, then follow a complete button-attachment guide with appropriate clearance.
Example: a knitted repair
For a simple hand-sewn repair in suitable jersey, examine a ball-point hand needle intended for that construction and match it to the thread. For darning a wool sock with yarn, investigate a suitable yarn darner and the specified darning method instead.
Those are different tasks: closing a seam is not the same as rebuilding material across a hole. Trace whether sewing thread, structural yarn or fabric has failed before selecting the point. A method chosen for the wrong failure will not become correct through better equipment.
On a practice sample, look for caught or split yarns, distorted loops and a repair that restricts normal movement. Coats' seam guidance treats strength, extension and bulk together; at household scale, that means evaluating the resulting repair rather than the needle in isolation.
Check resistance and finish safely
Inspect the needle for bending, corrosion or a rough point before starting. If it catches or needs increasing force, stop. Check the layers, thread, needle condition and method instead of bracing the point against your body or pulling unpredictably.
A sample cannot reproduce every weakness in an aged garment. Valuable or fragile textiles, dense technical layers and uncertain coatings may need an appropriate repair professional. Keeping the material intact is a better outcome than completing an unsuitable penetration test.
Return the needle and every temporary pin to storage when finished. Save the packet or record the type and size that worked with this particular fabric and thread. Your next repair then begins with a useful reference, while still allowing for a different construction.