A loose button is a small repair with two separate goals: hold the button securely and leave the fastening comfortable to use. Pulling every stitch as tightly as possible can satisfy neither. The fabric beneath the button needs support, and the buttonhole layer needs room to sit when the garment is fastened.
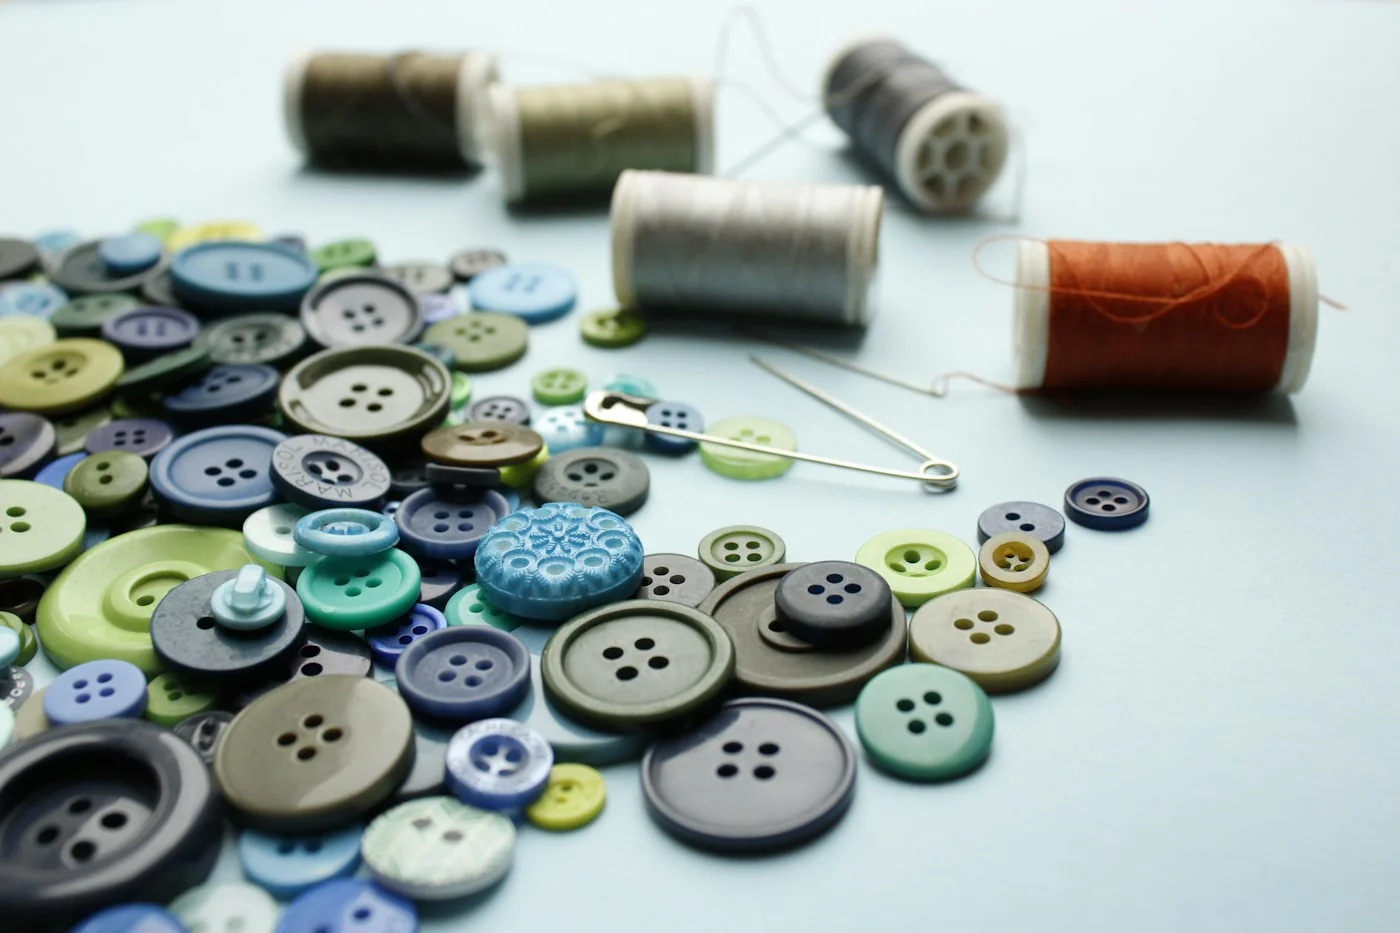
This guide concerns ordinary sew-through buttons with two or four holes. A button with a molded loop on its back has a built-in shank and follows a different thread path. Decorative, historic or unusually heavy fastenings may need more specialized treatment.
Check the cloth and position
Before removing anything, photograph the original stitching and button position. Look at neighboring buttons for the attachment pattern, but do not assume the old placement is correct if the garment has been altered or the button was previously moved.
Lay the garment flat and inspect the surrounding cloth in good light. If it is torn, thin or fraying, sewing through the same small area again may simply pull out more fabric. Stabilizing the area is a separate repair decision, not something a thicker thread automatically solves.
Fasten the surrounding buttons and align the garment edges naturally. Mark the needed position with an appropriate removable marking method tested on hidden cloth. Avoid positioning by eye while the garment is stretched or twisted.
Gather a simple, compatible kit
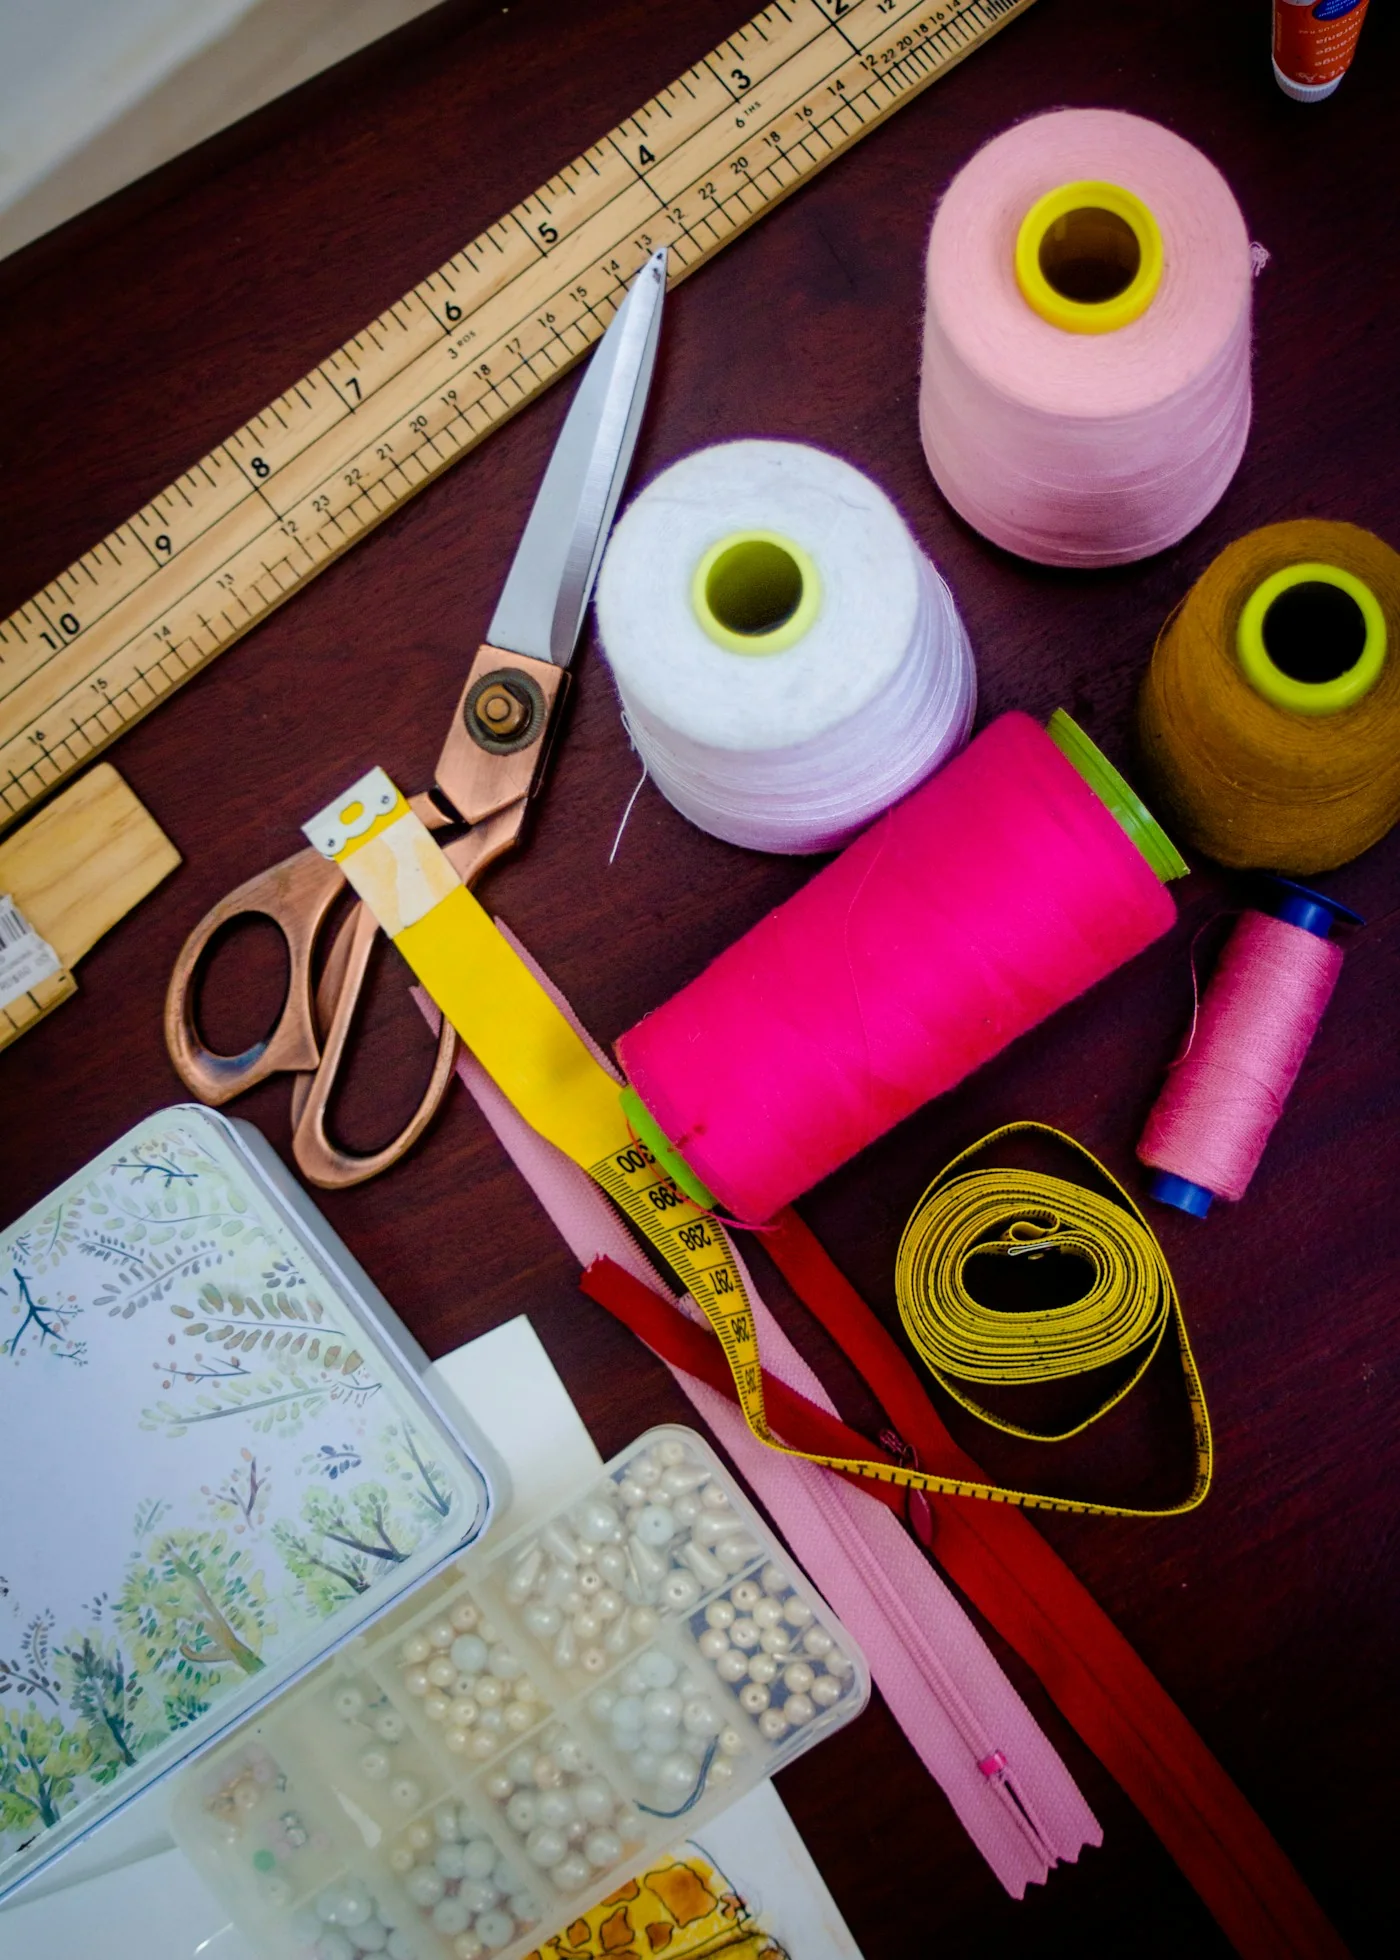
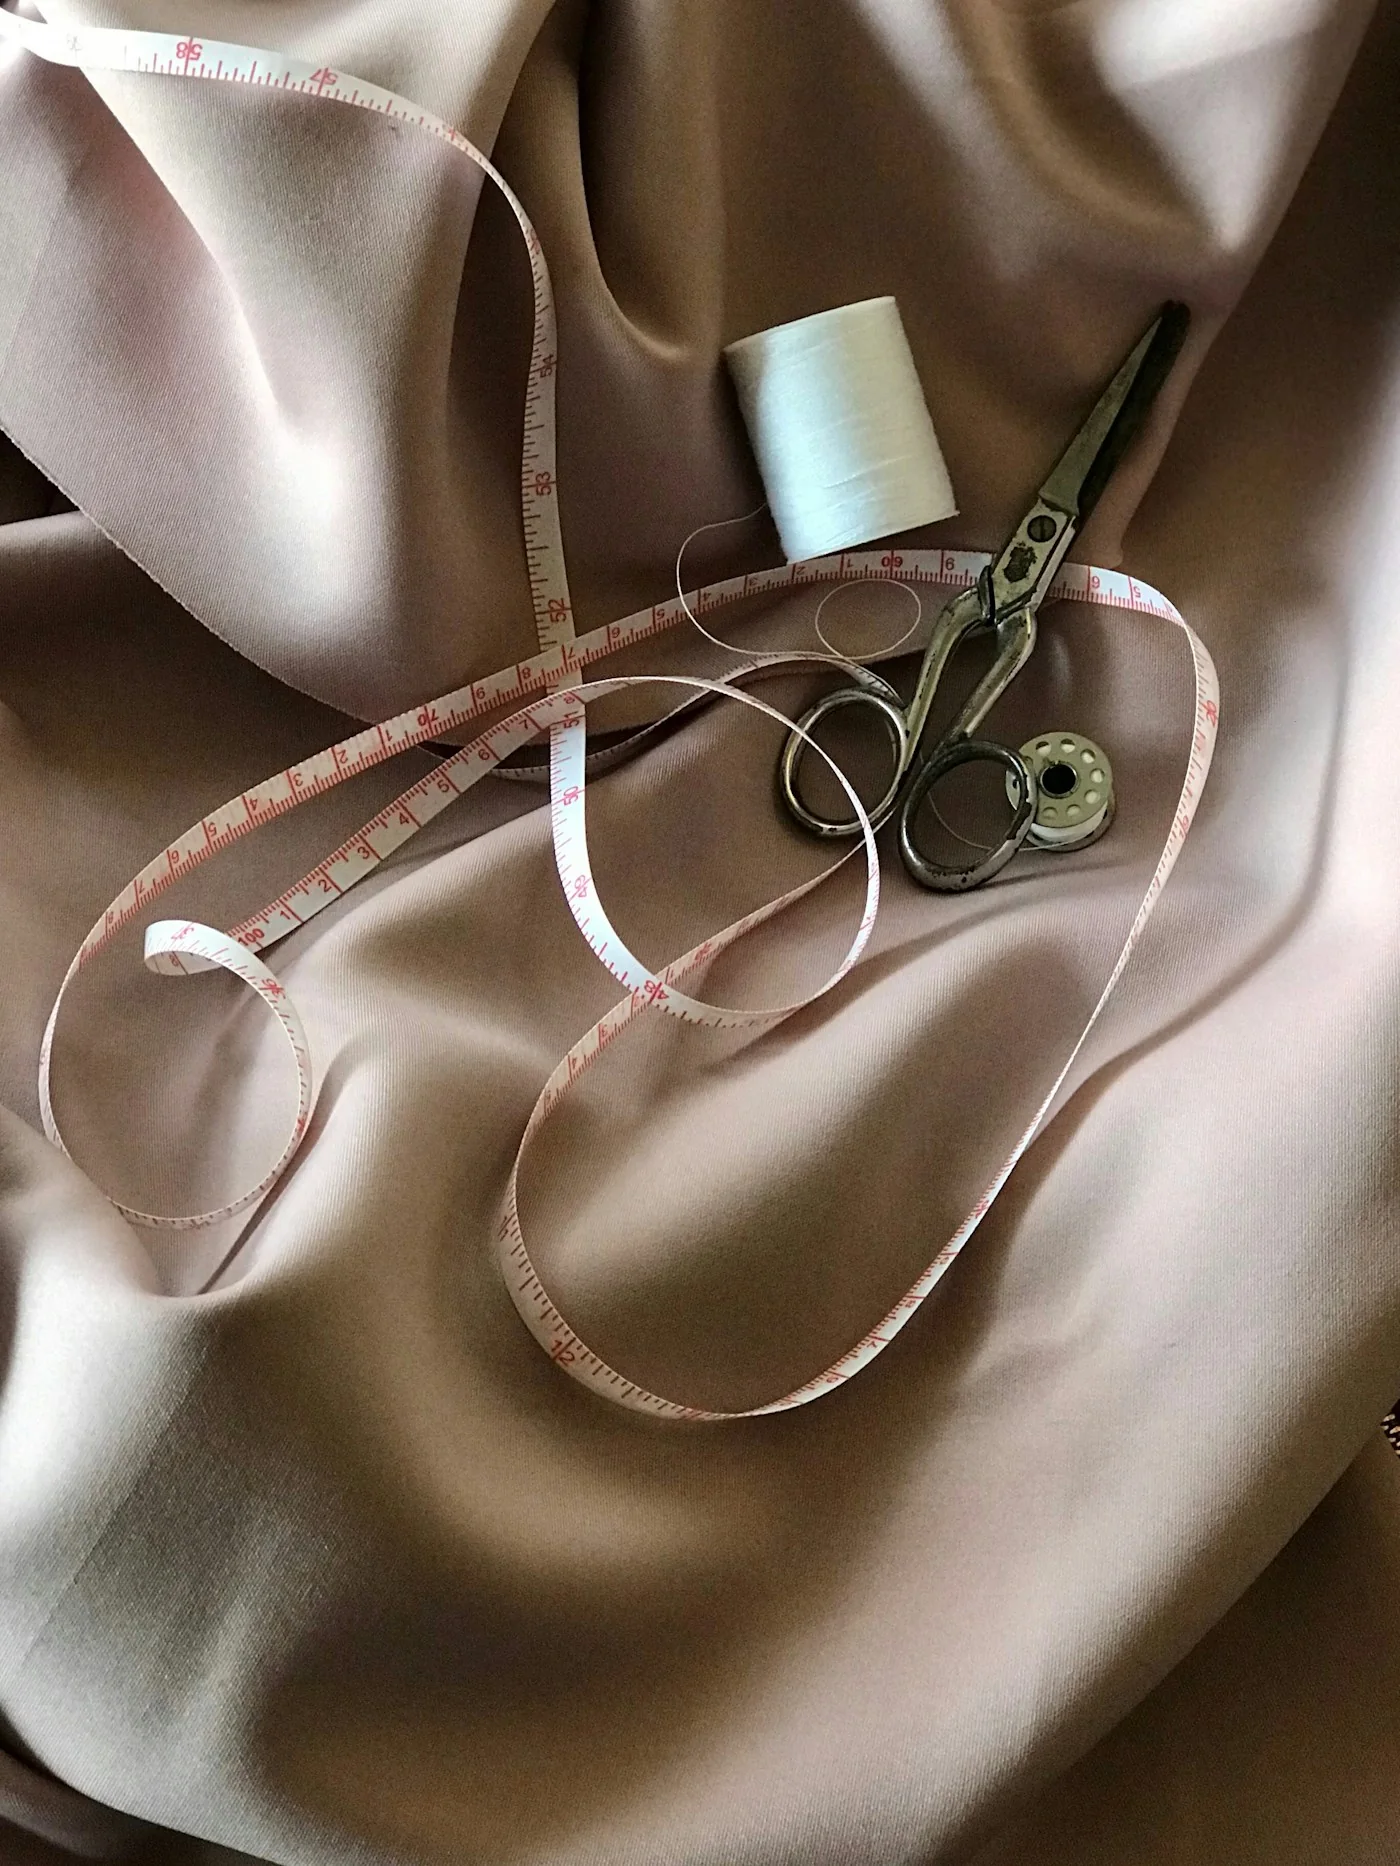
Use a hand-sewing needle that passes through the cloth and the button holes without force. Choose thread suited to the fabric and ordinary laundering requirements. For an everyday shirt, a general-purpose sewing thread is a more reasonable starting point than a very thick cord.
The Sewing and Craft Alliance describes doubled thread for sew-through buttons. Keep the two strands even so one does not carry all the tension while the other hangs loose. Cut a manageable length; an excessively long thread is more likely to tangle and abrade during repeated passes.
Have small scissors ready. If the fastening needs clearance, a removable smooth spacer can help maintain consistent room beneath the button while you stitch. Keep needles and temporary spacers accounted for throughout the job.
Anchor without distorting the fabric
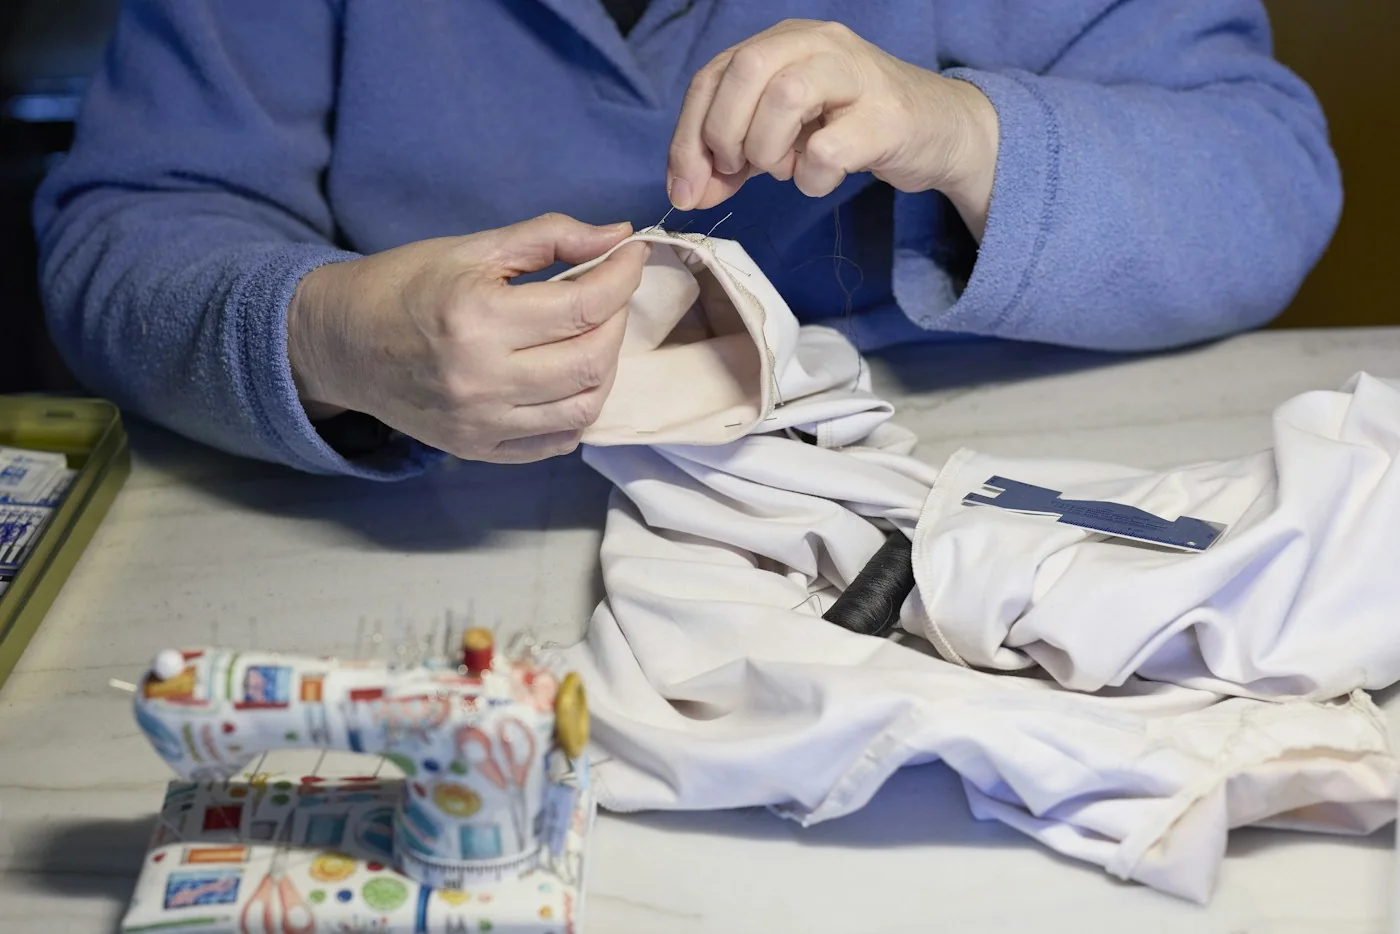
Work from the wrong side where practical. Secure the thread in sound cloth at the marked position with a small knot or appropriate anchoring stitches. Keep the anchor compact and away from an area where it would rub uncomfortably against skin.
Bring the needle up through the fabric and one button hole. Position the button, then return through its paired hole and the cloth beneath. Check that the needle has not caught a lining, pocket or another garment layer you meant to leave free.
The first pass establishes alignment. Pause before repeating it. If the button is tilted, the fabric puckers or the thread crosses the button edge instead of passing through a hole, correct the problem now rather than hiding it under more stitching.
Build the attachment in balanced passes
Repeat the path through the paired holes, allowing each pass to settle evenly. For a four-hole button, sew the second pair in a balanced arrangement. Parallel and crossed patterns are both possible; match the original look where appropriate.
Use enough passes for the task without filling the holes so tightly that further stitching damages the thread. There is no universal pass count that guarantees strength across every needle, thread, button and fabric combination.
Keep checking the underside. A loose loop there can remain hidden until the button is used. If the thread knots midway, stop and resolve it; pulling hard can tighten a tangle into the fabric and distort the attachment.
Leave room for the fastening layer
Where the buttonhole layer needs to fit beneath a flat button, maintain suitable clearance during stitching. The necessary space depends on the actual garment thickness. A shirt front and a thick coat fastening do not need identical treatment.
After removing a temporary spacer, bring the thread into the gap beneath the button rather than through another face hole. Wrapping the connecting stitches can form a thread shank. Secure the thread carefully without cinching the shank so tightly that the intended clearance disappears.
Finish on a suitable underside area with compact securing stitches or a knot, then trim the tail. Remove every temporary needle, pin and spacer. Check that the finish is secure and does not create an uncomfortable lump.
Test the closure, not just the button
Fasten and unfasten the garment several times gently. The button should pass through the hole without excessive force, sit at the intended position and allow the fabric layers to lie naturally. Inspect for puckering, tilting and a gap caused by incorrect placement.
A firm tug is not a substitute for this use check. If the button catches, the hole stretches or the cloth pulls around the stitches, identify the cause before wearing the garment. Sometimes the button size or buttonhole condition is the real problem.
Practice the sequence on spare cloth if it is unfamiliar. The useful result is a balanced fastening on sound material, with enough clearance to work. A neat-looking cluster of stitches is only part of that result; alignment, comfort and the surrounding fabric complete the repair.