A loop projecting from a sweater can be tempting to trim. Resist that first impulse. In a knitted fabric, the protruding length may still be part of the connected yarn structure. Cutting it can change a displacement problem into a broken-yarn problem.
Begin with observation and support rather than a tool. This guide helps distinguish a modest pulled loop from damage that needs a more specific repair. It cannot prescribe one method for every knit, yarn, pattern or level of fragility.
Understand why a loop matters
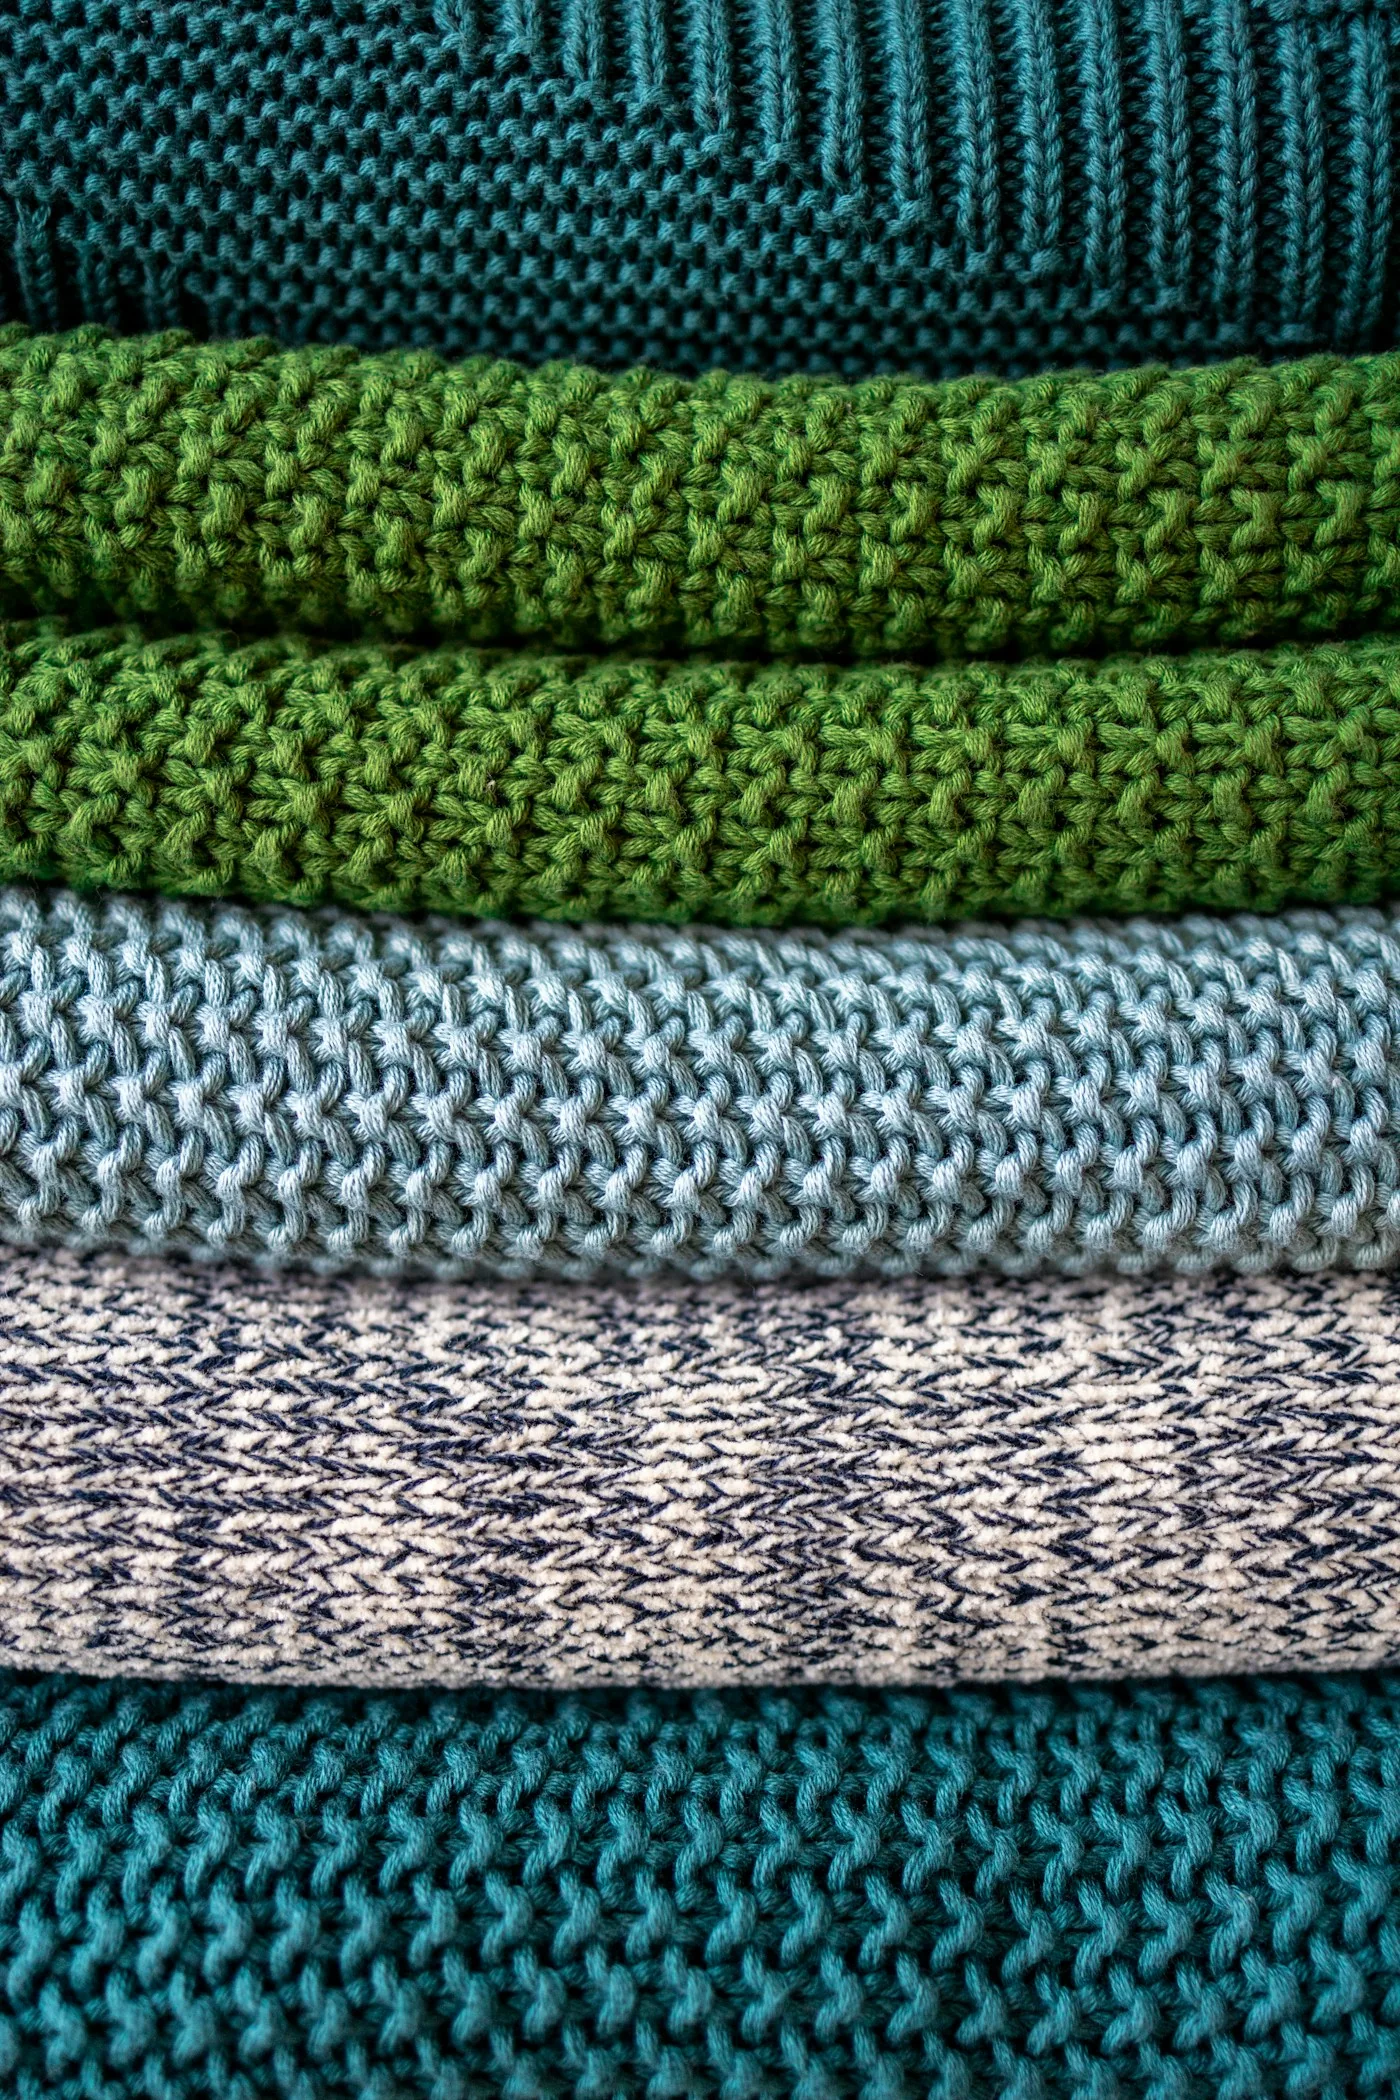
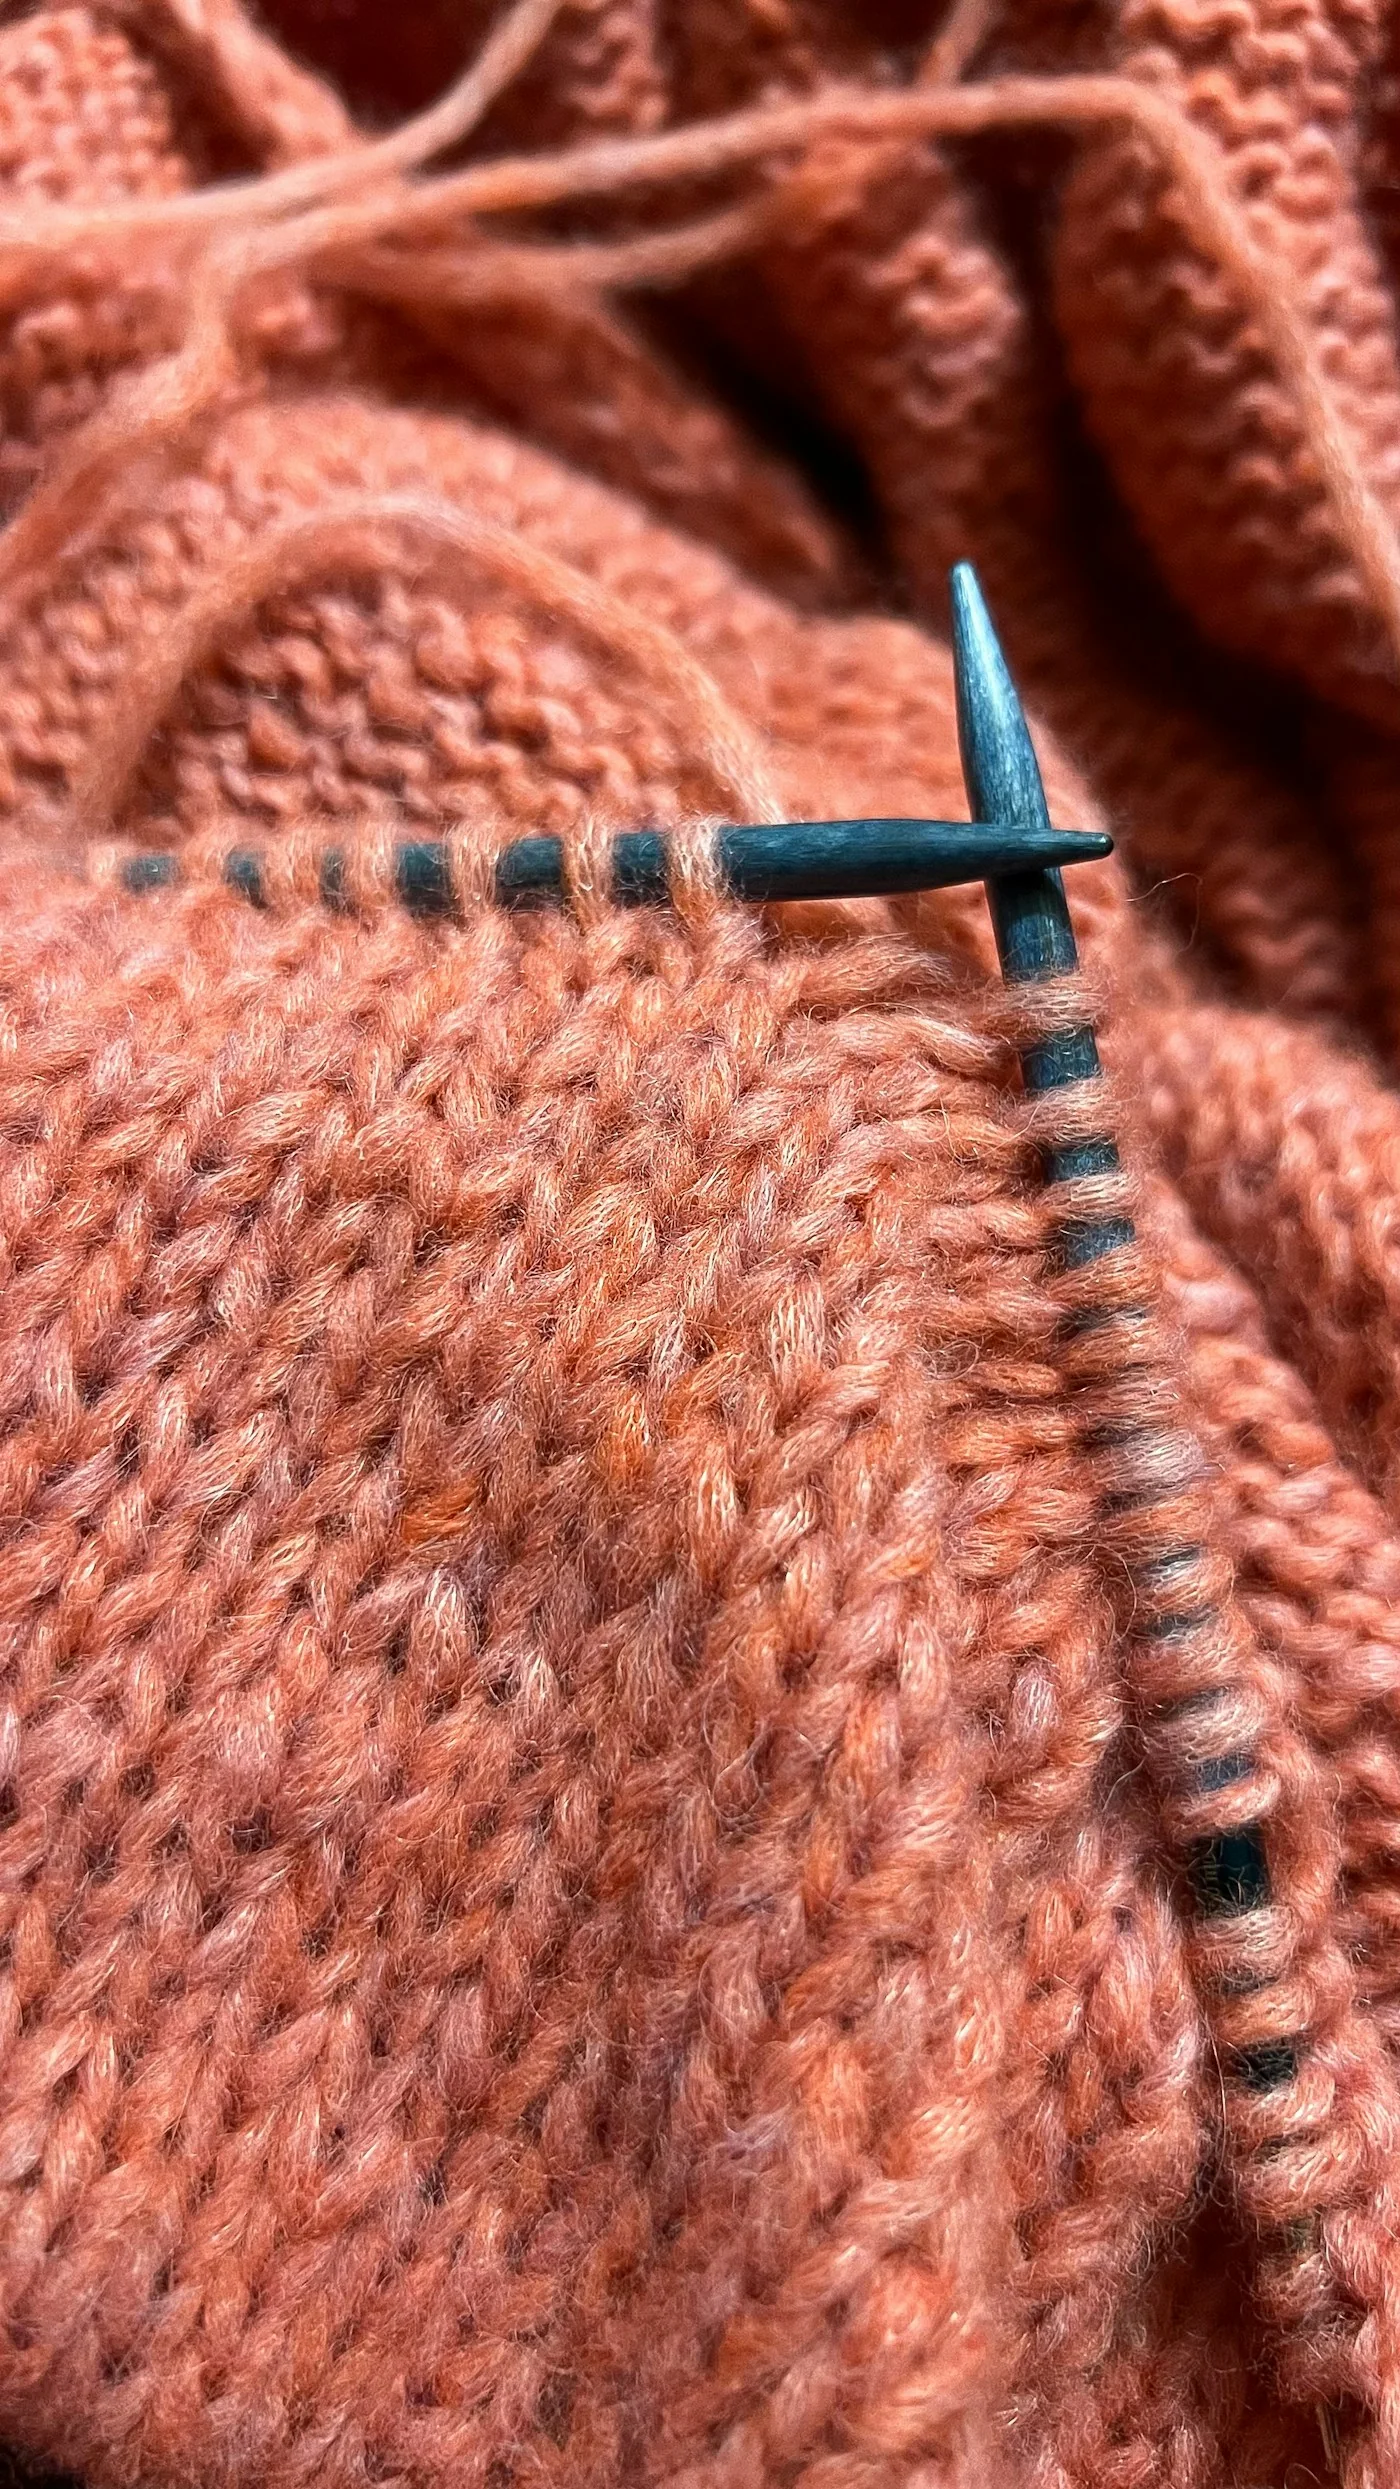
CottonWorks explains knitting as yarn formed into interconnected loops. That structure helps the fabric move, but it also means a visible length can belong to the cloth rather than being a disposable sewing-thread tail.
A snag can draw yarn away from neighboring loops, leaving a protrusion and a tightened or distorted area nearby. The extent may be larger than the single loop first noticed. Look at the surrounding fabric, not only the part standing above the surface.
This differs from a pill, which is an entangled ball of surface fibers. A fabric shaver intended for pills is not a general snag repair tool. If you are unsure which condition you see, leave the material intact until it is identified.
Support the garment and stop further catching
Lay the item on a clean surface without pulling the affected area tight. Remove rings or rough accessories that could catch another loop. Keep the snag away from hook-and-loop fasteners, jewelry and sharp furniture edges.
Do not hang the garment by the damaged section to inspect it. Its weight can add strain where yarn has already been displaced. If it is wet, follow its drying requirements with appropriate support before attempting a repair assessment.
Photograph the area from both sides if that can be done without force. Include enough surrounding cloth to show the pattern and distortion. A repairer needs that context more than a tightly cropped picture of one protruding strand.
Look for a break or an extending opening
Check whether the yarn appears continuous or has a free broken end. Look for missing loops, a developing hole or a run in the fabric. Do not probe with sharp scissors or pull at the strand to determine whether it breaks.
If the opening is extending, the question is no longer merely where to place a loose loop. The structure may need stabilization and a construction-specific repair. Fine-gauge, openwork and textured knits can require different skills.
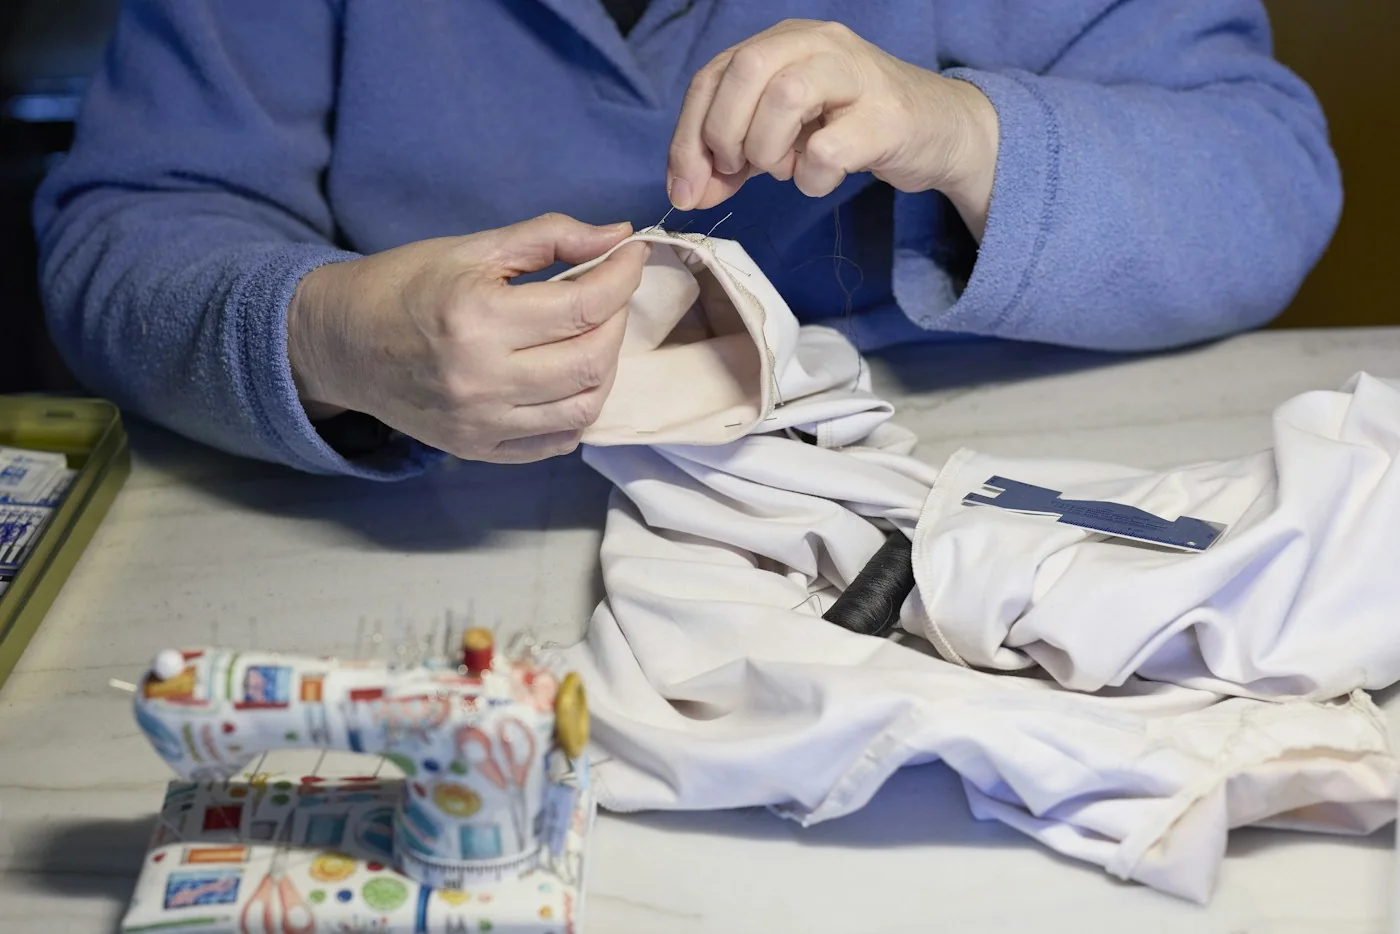
Woolmark's repair guidance distinguishes darning, patching and seam work as different tasks. Use that distinction to seek the right help rather than treating every visible fault as a simple thread to tuck away.
Avoid replacing one distortion with another
Forceful pulling on either side of a snag can redistribute tension unpredictably. An apparently smaller loop is not proof of a sound repair if the surrounding stitches have become tight or uneven. Preserve the original material while you determine the method.
Some suitable repairs redistribute displaced yarn carefully or move a loop to a less exposed position. Whether that is appropriate depends on the construction and the condition of the yarn. A generic instruction to push everything through the back can hide rather than resolve a problem.
If you lack experience with the structure, ask a knitwear repairer or the maker for guidance. This is especially sensible for a valuable garment, a highly visible area or damage involving several loops. Keeping the yarn uncut preserves more repair options.
Separate cosmetic improvement from structure
After any appropriate treatment, examine both faces and nearby stitches. Has the cloth returned to a reasonable shape? Is there new tightness, a hard lump or an opening that still needs attention? A less visible front is only one part of the result.
Move the area gently through its ordinary range without testing it to destruction. The repair should not depend on the garment remaining perfectly flat. If it catches or strains during normal movement, reassess before wearing it.
Do not promise invisible results from a repair method or assume every yarn can return to its earlier condition. Some fibers may have been abraded or split during the snag event. Condition limits what a cosmetic adjustment can achieve.
Remove the source of repeated snags
Check the object that caught the garment if it is known. Rough bag hardware, a damaged hanger, a chair edge or a fastening on another garment can cause the same problem again. Repairing the sweater without changing that contact may lead to repeated work.
During washing and storage, follow the item's label and separate it from incompatible rough surfaces. An appropriate protective arrangement can reduce contact but does not override care restrictions or guarantee a snag-free future.
The most valuable first action is often restraint: support the cloth, identify the structure and keep the yarn intact. Once you know whether the problem is a pulled loop, broken yarn, hole or failed seam, you can choose a repair with a clear purpose instead of trimming away evidence and options.